
WP Booking PRO
This is a Schedule Booking plugin. Use this plugin as a complete booking solution for your site. Create bookings for example AC Servicing, Car Servicing, Room Booking, Doctor's Appointment Booking etc, Create Custom Fields for the Booking Form, Put a Google Map on the location details page, Let customers to book schedules. Bookings can either be FREE or PAID. Manage / View bookings from admin panel and frontend. This plugin now comes with a FREE Addon AP Email Template Add-on
If you need support please Email us at [email protected]
All updates & support available for 1 year. Current Plugin (Version 2.4.3)


Shortcodes
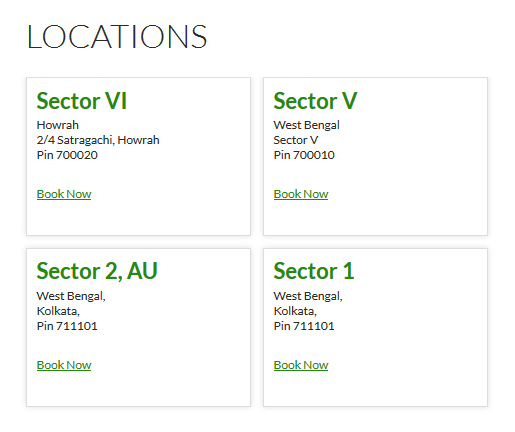
1. [schd_booking_locations] this will display all available locations.
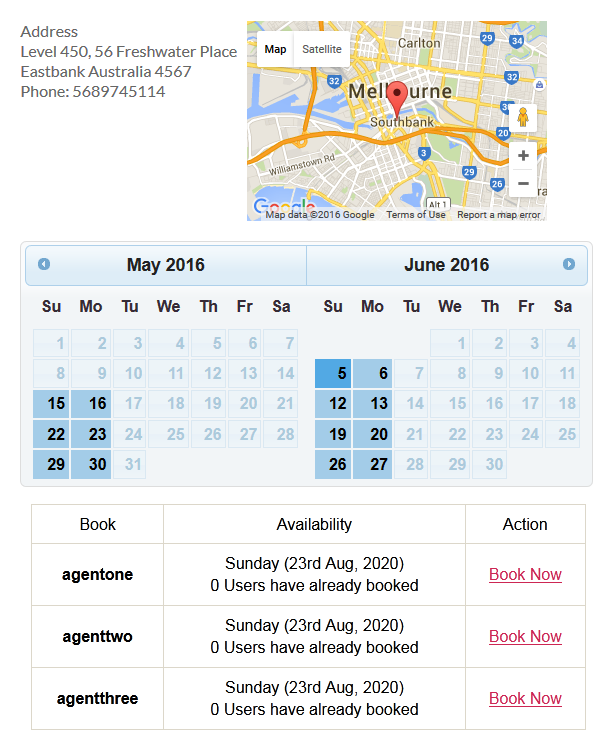
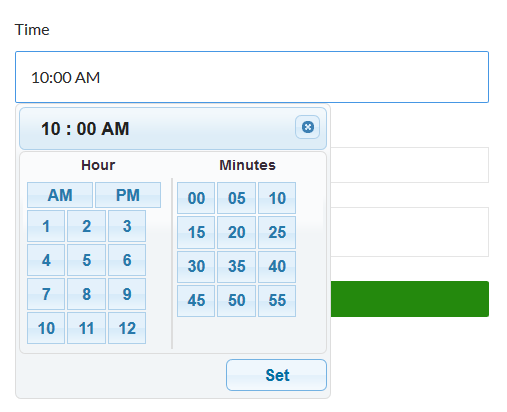
2. [schd_calendar no_of_month="2"] Put this in the Booking Address page. This will let users to book a schedule with a jQuery UI Calendar. Shortcode instructions are in the Booking Address page as well.
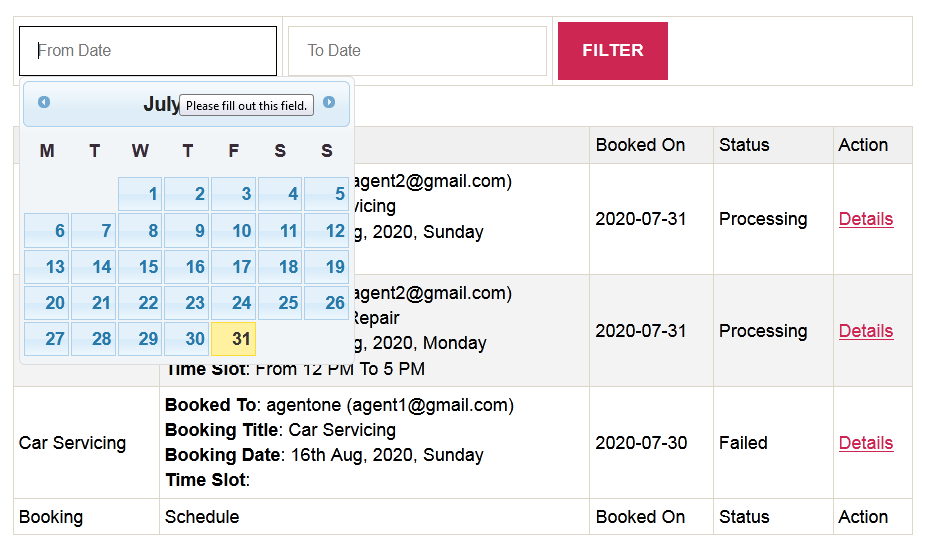
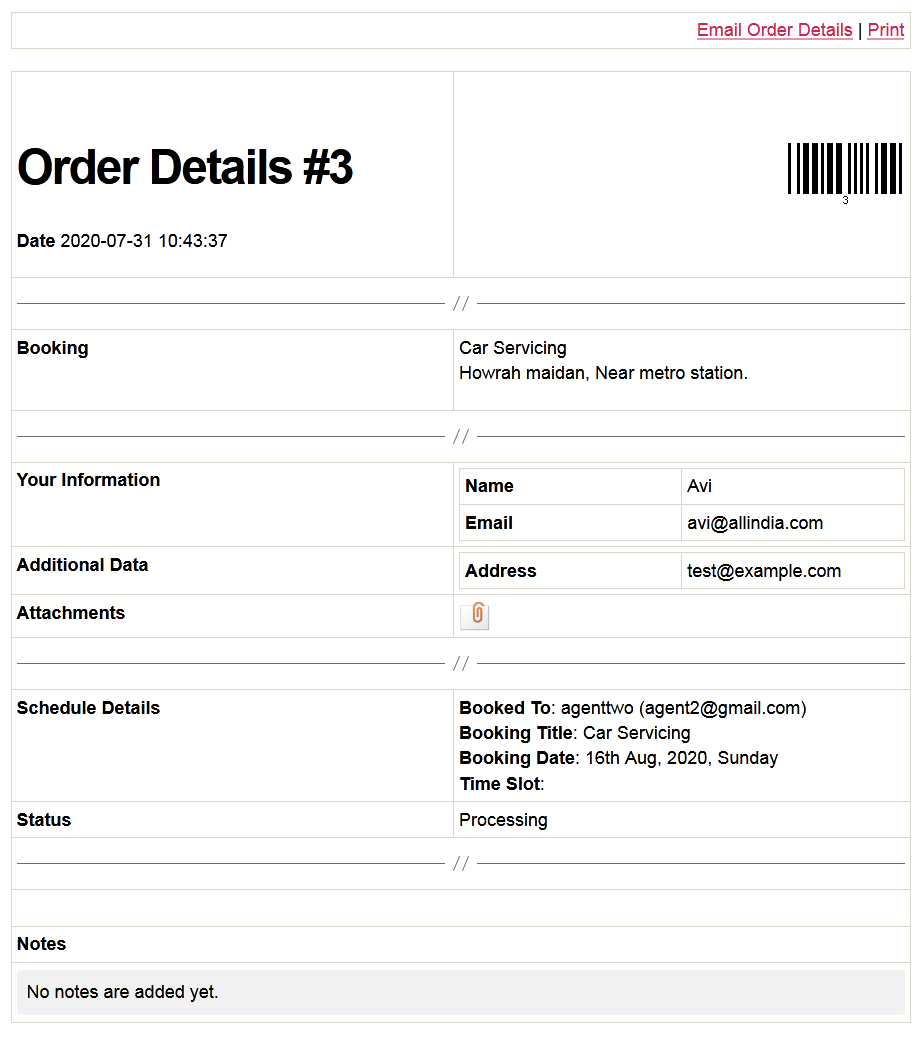
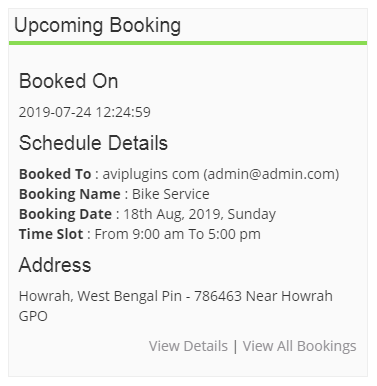
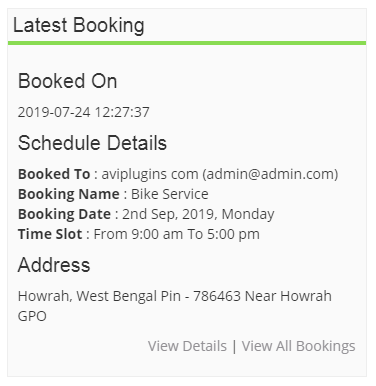
3. [schd_booking_orders] this will display Booking Logs in frontend. Loggedin users will be able to view the bookings they have / booked.
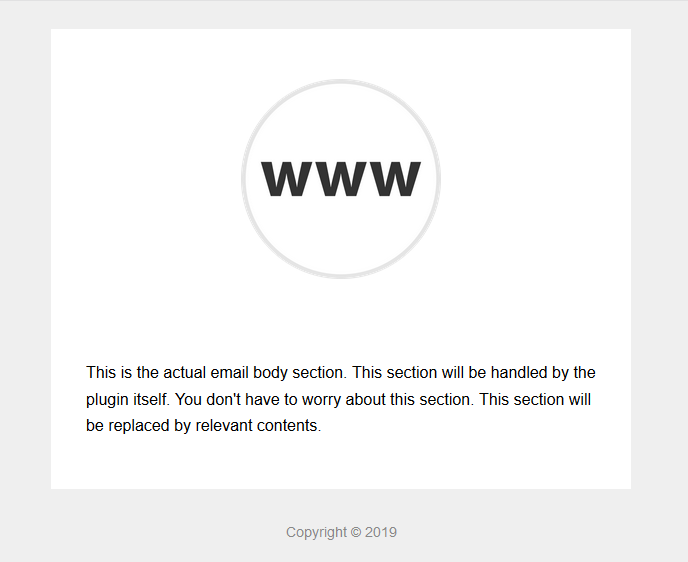
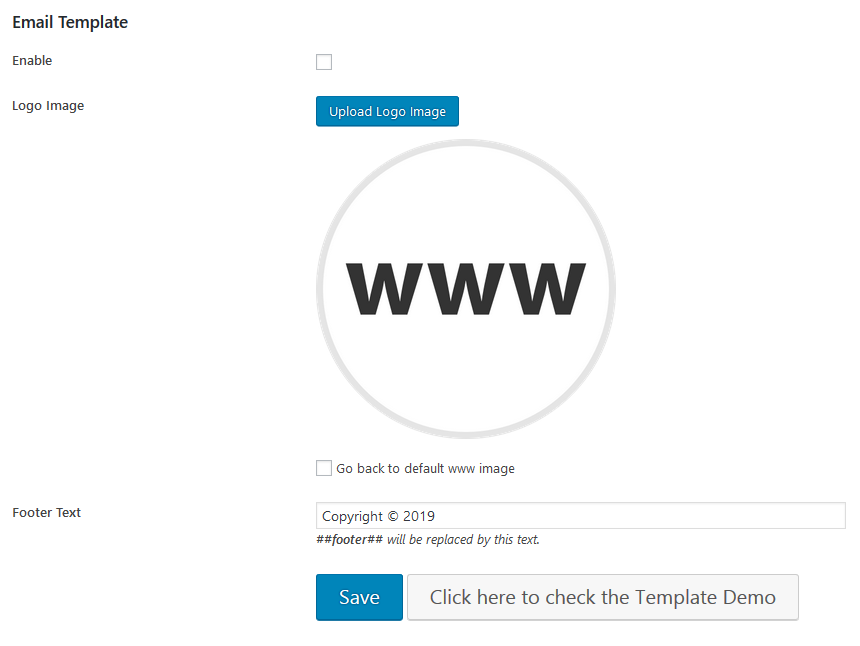
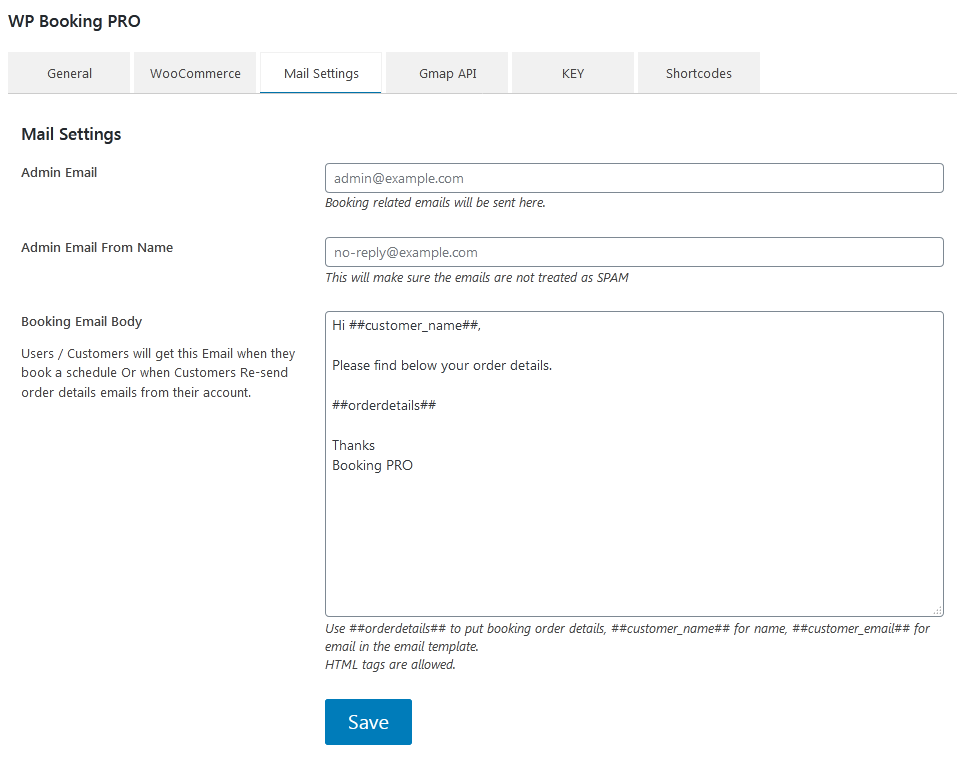
AP Email Template Add-on ( FREE )
This is an Email Template addon plugin for PRO plugins available at aviplugins.com. This will allow you to customize Email Template easily, make your emails look more professional. This Add-on is FREE to download. Once you purchase WP Booking PRO you will get a plugin KEY. Please use that KEY to download this Add-on.
Setup and Usage Admin Panel
The setup of this plugin is very simple. A detailed explanation of how the plugin works and what can be done by this plugin are given below.


Usage Frontend
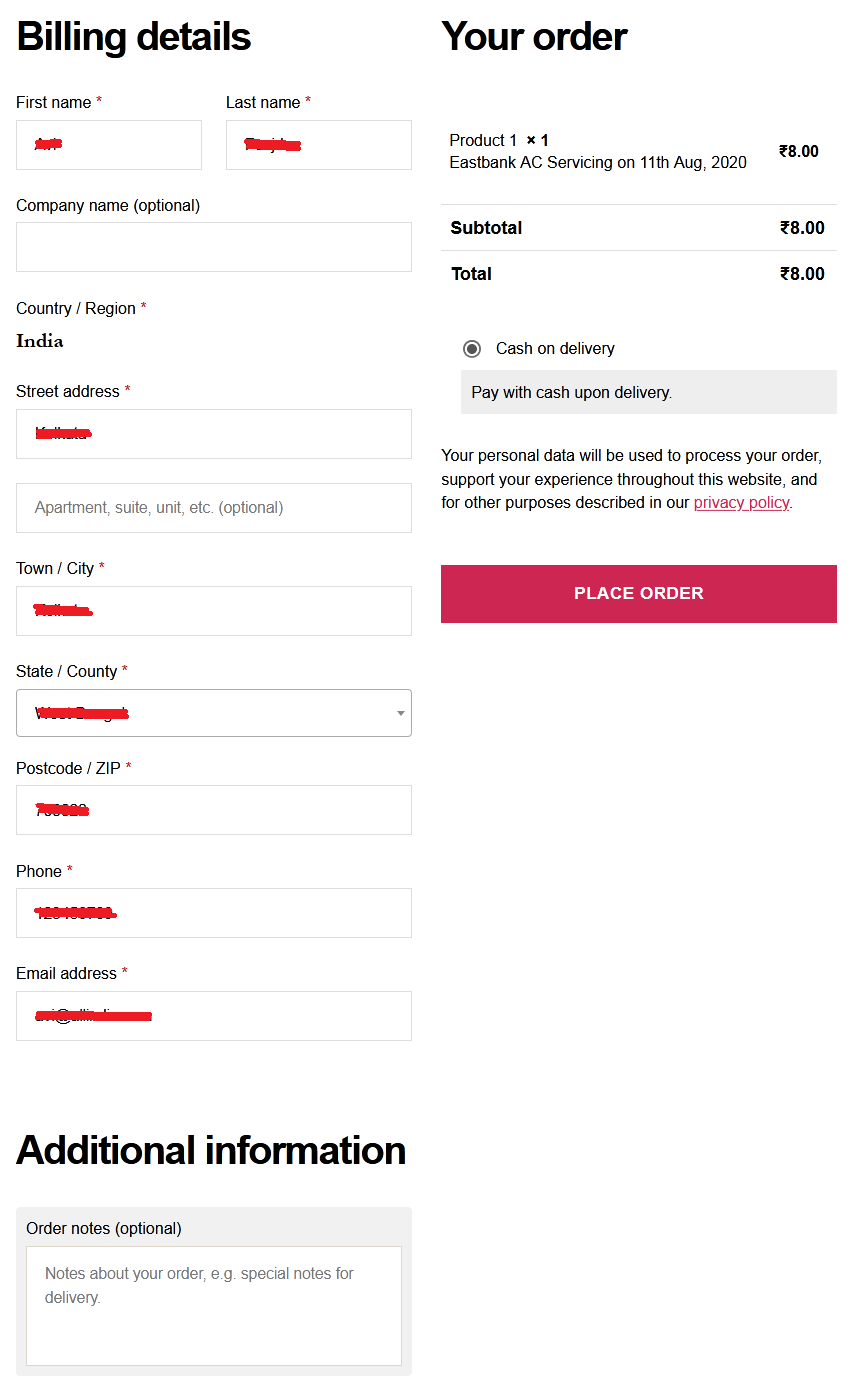
In the frontend users can view the available bookable items. Select a booking that you want to book. Select a schedule and Book It. Booking can either be FREE or PAID. For PAID bookings are implemented with WooCommerce
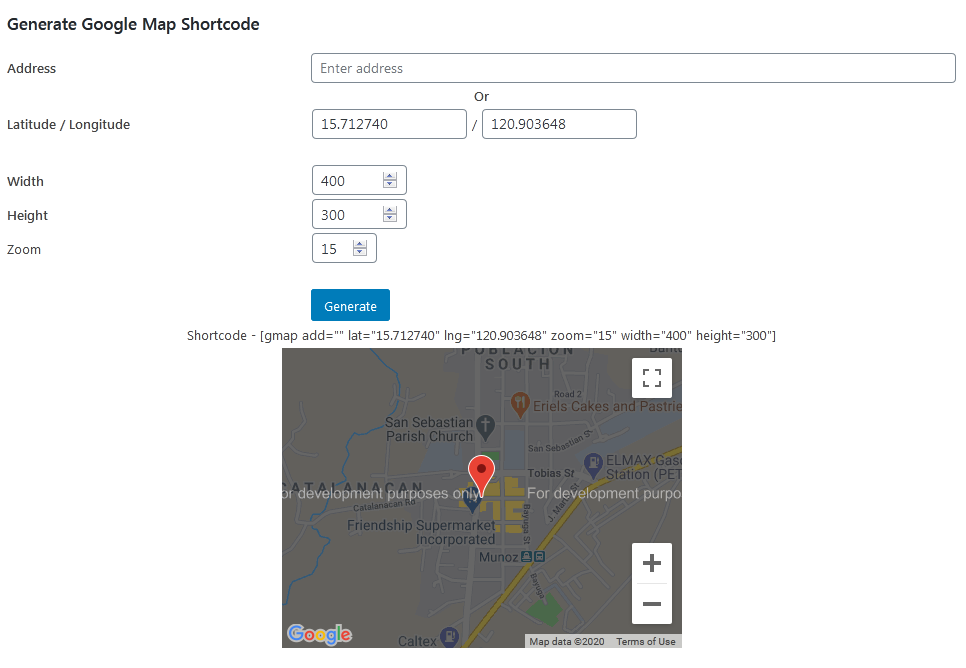
Google Map Shortcode
This plugin comes with a option to create Google Map very easily. The plugin can generate a Google Map shortcode by address that you enter. Shortcode can be placed in the location content, posts or pages.
Basic Plugin Setup Guide
1. Activate the plugin from "Plugins" Menu in WordPress.
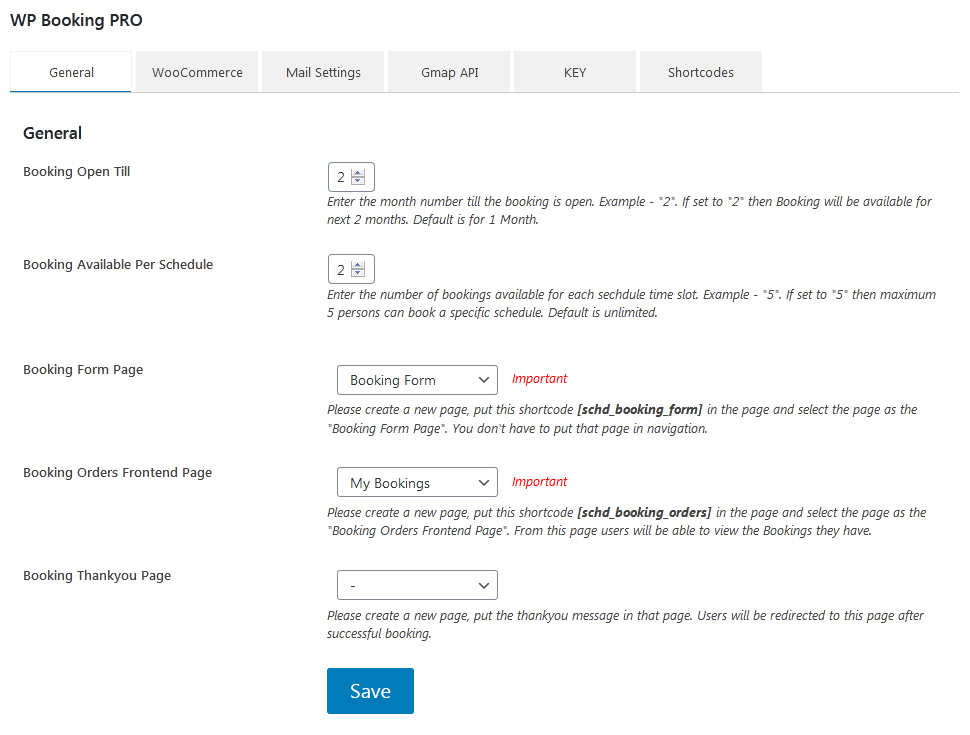
2. Once the plugin is activated please visit to "WP Booking PRO" Menu form left panel. Click on "General" Tab.
2a. The first field is "Booking Open Till". You can left this blank or put 1 or 2 or any number you like, this will make booking available for the mentioned number of months. If you left this field blank then Booking will be open for the next month only. Don't get very confused about this you will understand the use of this variable while using the plugin.
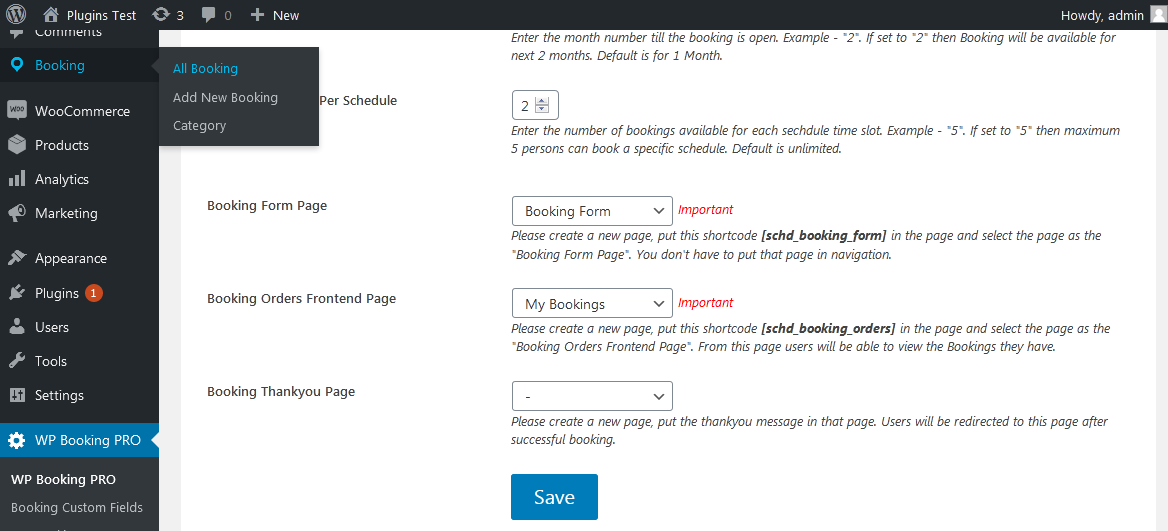
2.b The second field is "Booking Available Per Schedule", This field can also be left blank. If the field is blank then there will be no restrictions on how many persons can book a specific schedule. To restrict how many bookings you want to take per schedule put a number like 10, 20 etc.
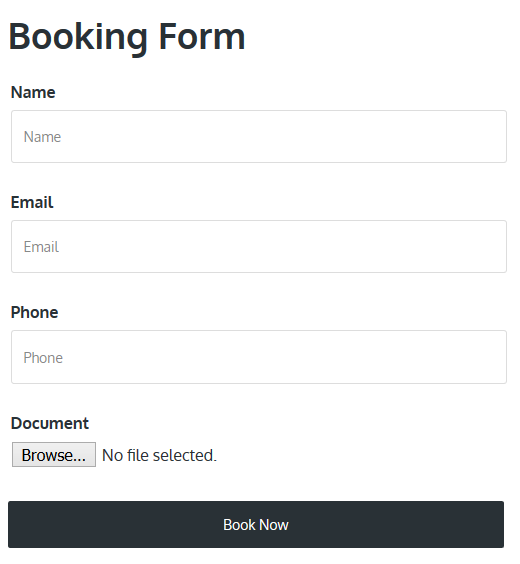
2c. The third field is "Booking Form Page". This field is Required and Important. Create a new page for example "Booking Form" and put the shortcode [schd_booking_form] in the page. Once the page is created come back to this field and select that page from the drop down menu. This page will be used internally by the plugin so no need to put this page in site navigation.
2d. The fourth field is "Booking Orders Frontend Page". This field is Required and Important. Create a new page for example "Booking Orders" and put the shortcode [schd_booking_orders] in the page. Once the page is created come back to this field and select that page from the drop down menu. You should add this page in navigation menu because from this page users will be able to view the Bookings they have.
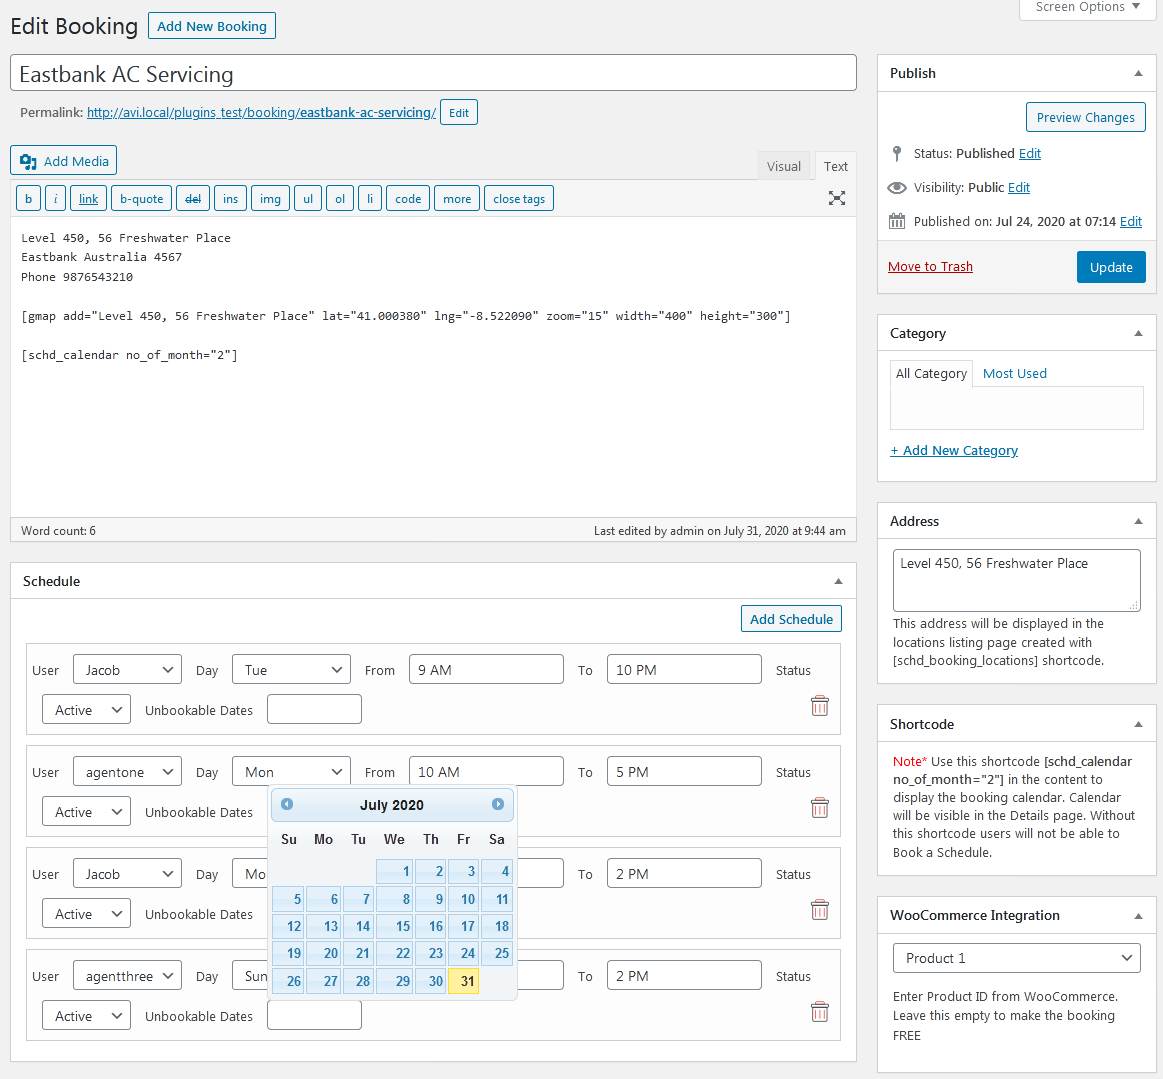
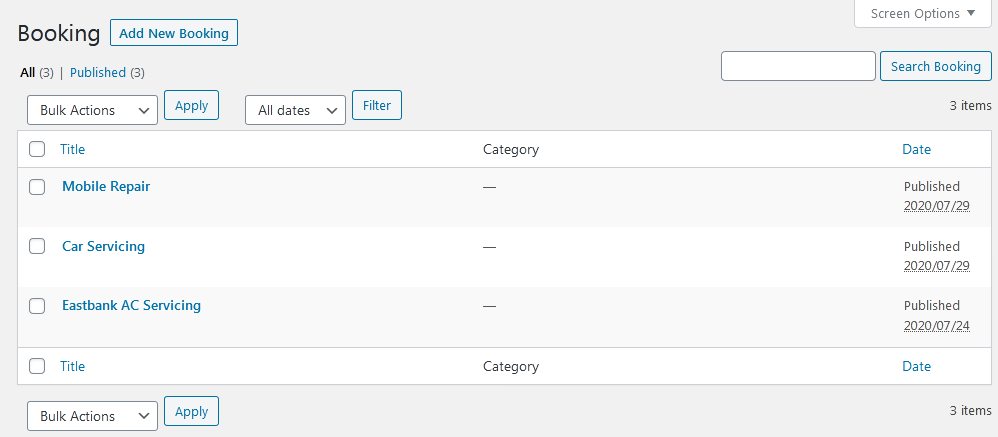
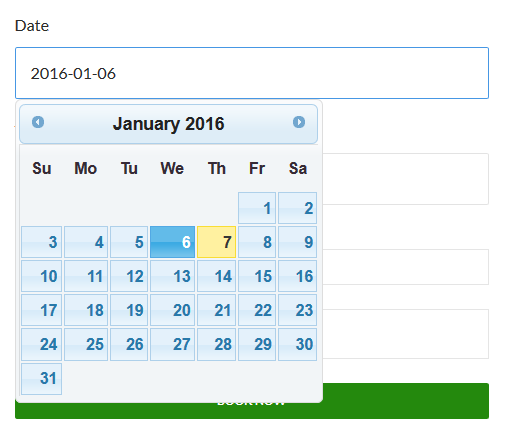
3. Now it's time to create some booking items. For this go to "Booking" Menu form left panel. And click "Add New Booking". In the title put the booking item name. Booking item name can be a Location name, Room Name, House Name, Dr's Name, Car name etc ( Anything that can be booked ). In the content section put the shortcode [schd_calendar] this will add booking calender so that users can book this schedule from frontend.
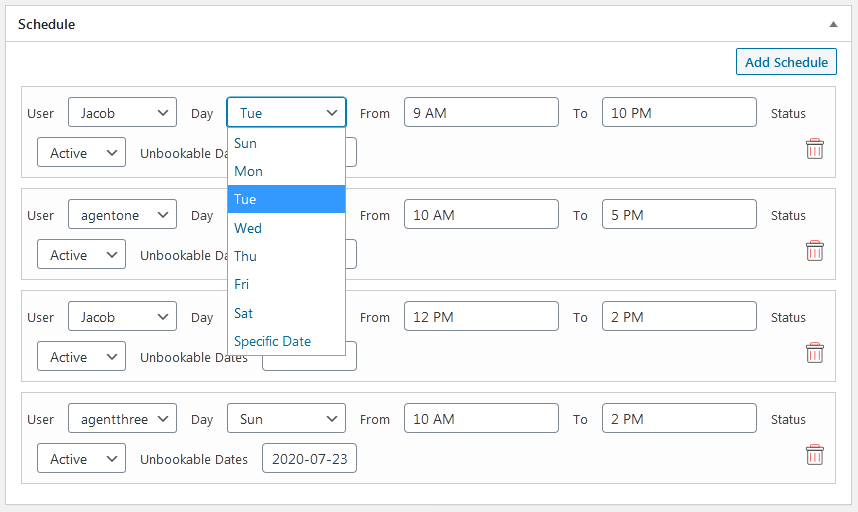
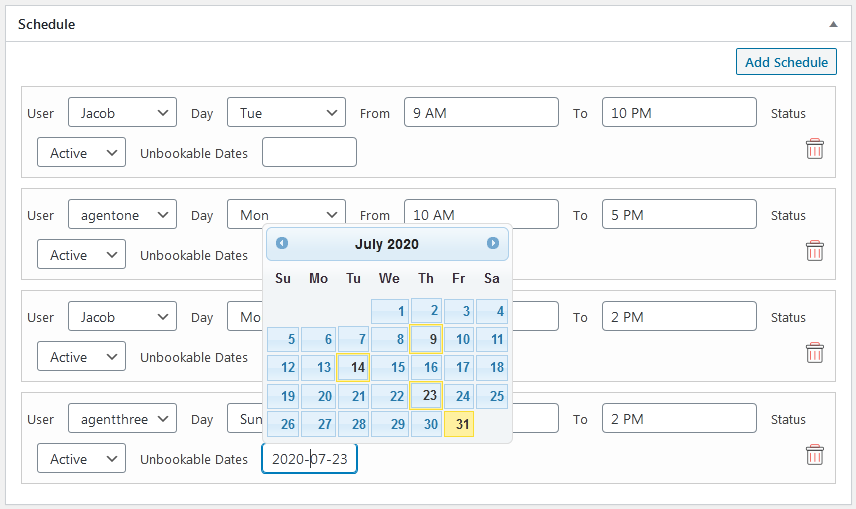
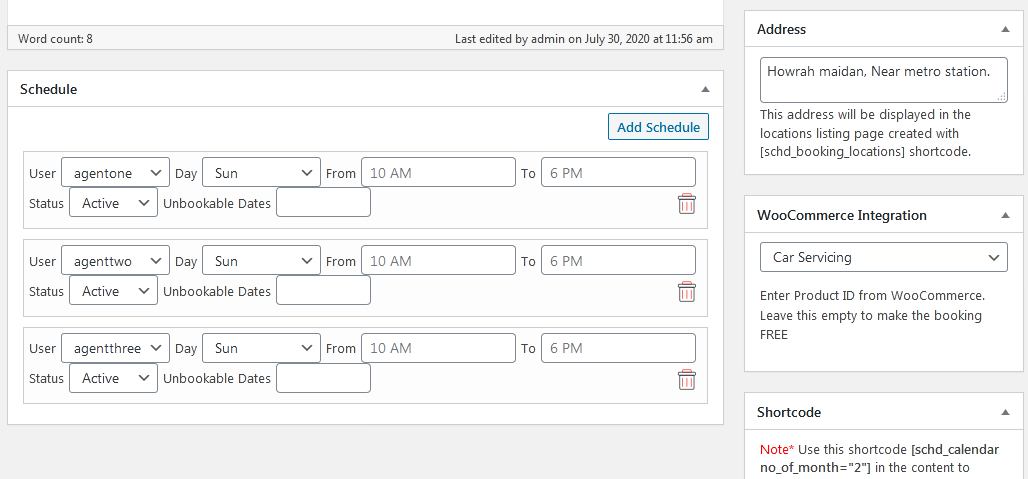
4. Now you need to create some schedules for this booking item. For example which days and which times are bookable. This can be done from the "Schedule" section. Add as many schedules as you want, these schedules will be bookable from frontend.
5. Now it's time to display the booking items using shortcode. For this create a page named "Booking Location" and put the shortcode [schd_booking_locations]. Add this page in your navigation menu.
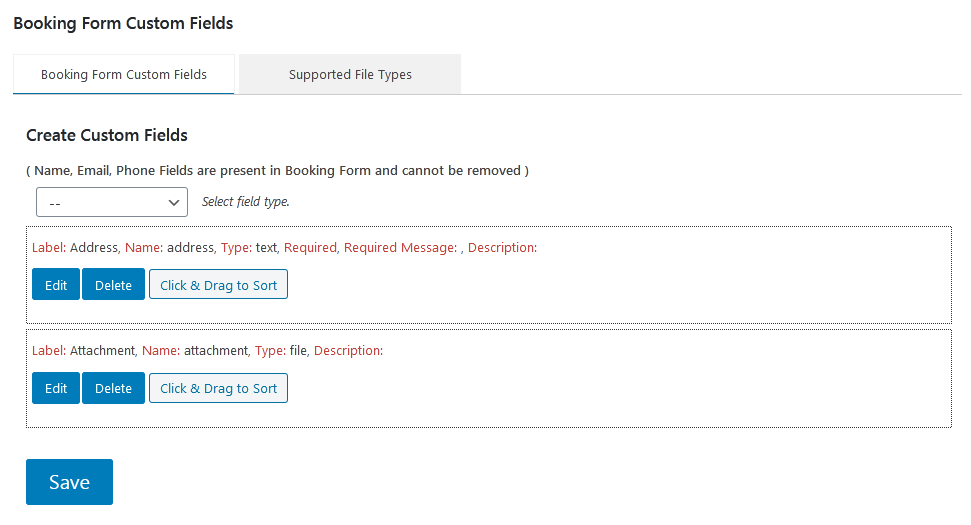
That's all. These are the basic steps that you need to follow to setup this plugin. There are other options that can be configured like Payments for Booking, Custom fields in Booking Form, Booking Order Emails, Google Map for Booking Address etc, but the plugin will work without these configured.
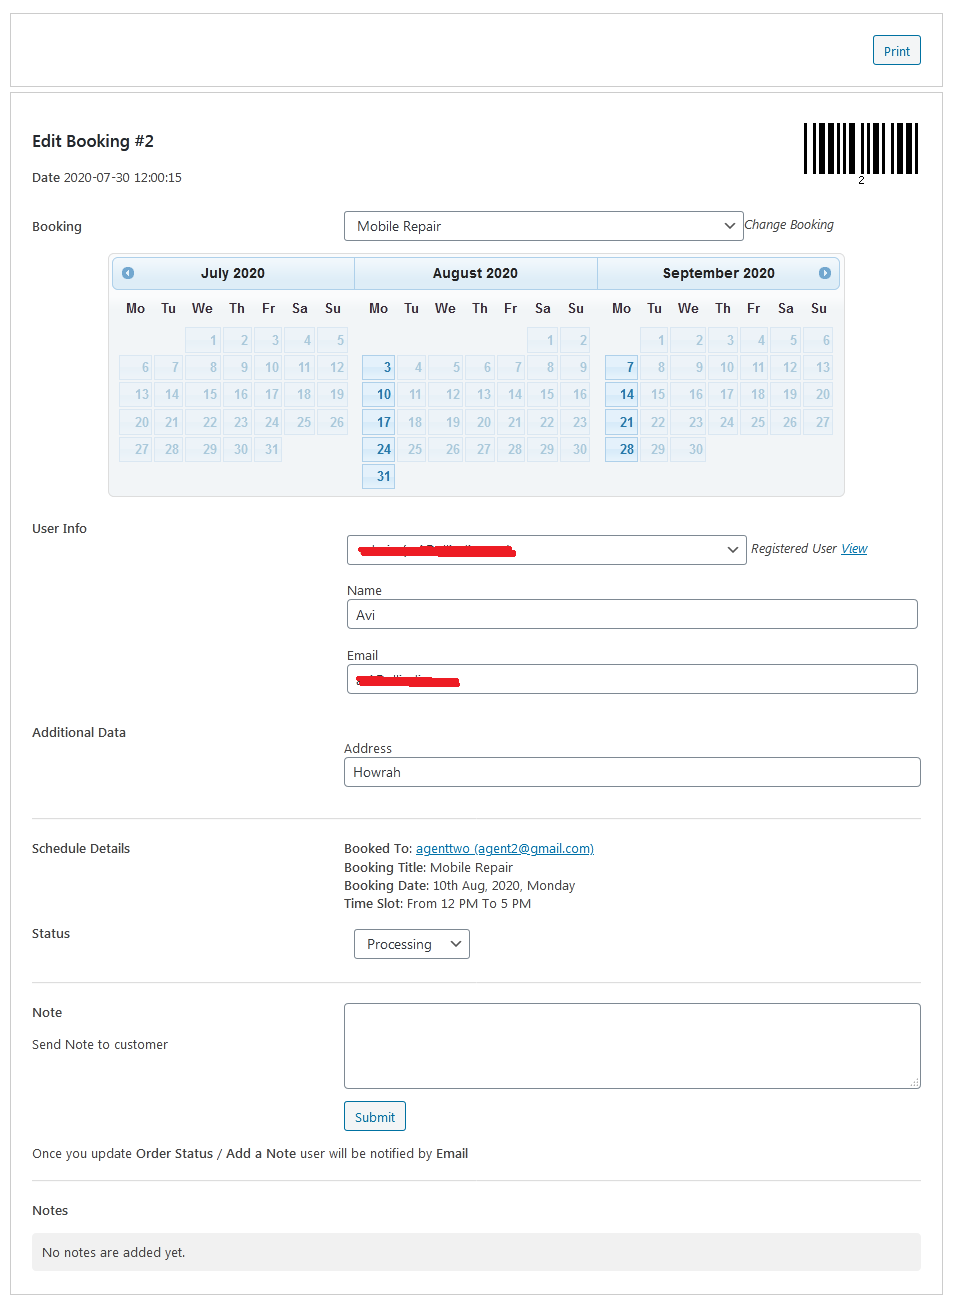
Now visit the page where you have entered the [schd_booking_locations] shortcode ( Step no 5 ) and try out a booking. Once an order is placed go to "WP Booking PRO -> WP Booking Log" Menu in admin panel to check the Booking Orders Log.
Note * If you click on a booking item from frontend and see a "Page not found" error. Please go to "Settings -> Permalinks" and Click "Save Changes". You don't have to change anything here just a Save will do.
WP Booking PRO is a multilingual plugin. To use this plugin in your native language you have to translate the plugin text in your language. Please click here for a sample wp-easy-booking-da_DK.po Danish language file. Once the translation is done please mail the translated file to [email protected] and we will convert that file and mail you back with the translated .MO file, which you have to put in the languages directory inside the plugin.
License and AgreementPlease read the plugin license